Mettre en place Facebook Shopping et Instagram Shopping
Booster vos ventes avec Facebook et Instagram Shopping ! Activez facilement cette fonctionnalité pour synchroniser votre catalogue produits avec Facebook et Instagram.

La fonctionnalité Facebook & Instagram Shopping vous permet de récupérer automatiquement votre catalogue de produits depuis votre site et de les taguer directement sur vos publications et stories. Les abonnés qui cliqueront dessus seront automatiquement redirigés vers votre site pour acheter.
💡 La fonctionnalité Shopping de Facebook et d’Instagram ne concerne que la vente de produits physiques et ne s’applique donc pas aux services ou événements.
Les réseaux sociaux jouant un rôle de plus en plus important dans les transactions en ligne, Facebook et Instagram peuvent être un véritable accélérateur pour votre activité et vos ventes. Leur fonctionnalité Shopping permet de mettre en lumière vos produits et d’en accentuer la visibilité.
Un onglet Boutique apparaît directement sur votre page Facebook et Instagram, mettant ainsi à disposition tout votre catalogue.
Vous pouvez taguer les produits de votre catalogue sur vos publications, ce qui permet à vos abonnés de cliquer dessus et d’accéder directement à la fiche produit sur votre site.
Vous pouvez également mettre le lien de vos produits ou de votre boutique dans vos stories.
Vos produits remontent dans l’onglet Boutique des comptes de vos abonnés ou des personnes qui ont un intérêt pour le type de produits que vous vendez.
⚠️ Pour activer Instagram Shopping, il est obligatoire de mettre en place Facebook Shopping.
Mettre en place Facebook Shopping
Initialiser le flux RSS du catalogue de produits
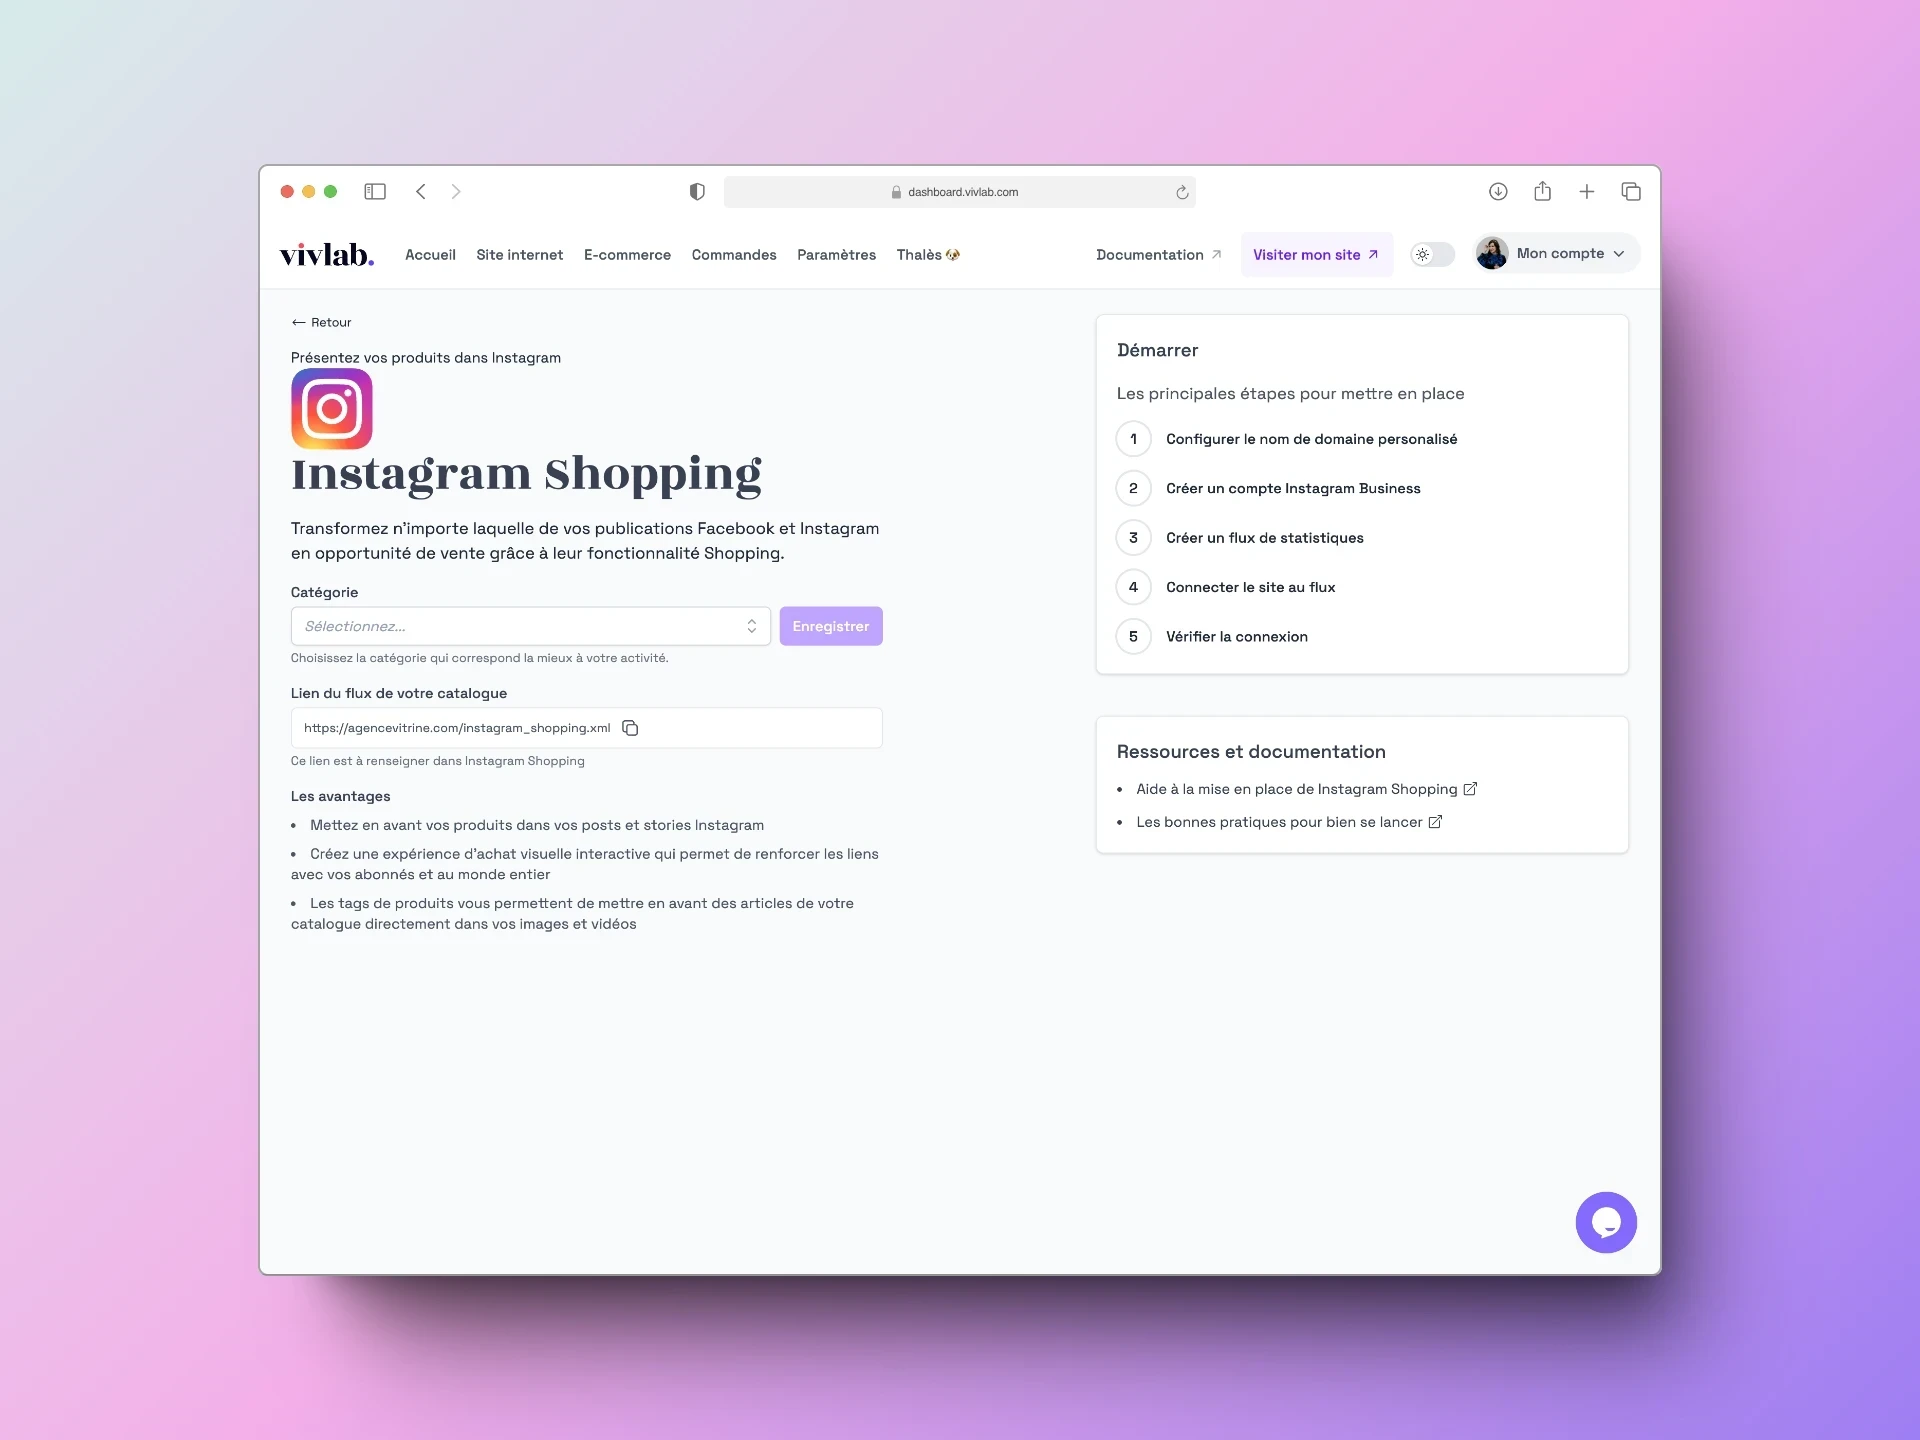
Rendez-vous dans le menu d’édition Facebook et Instagram Shopping.
Sélectionnez une catégorie de produits qui définit le mieux les articles que vous vendez sur votre boutique en ligne.
Copiez l’URL du flux RSS générée automatiquement, composée comme suit : https://maboutique.com/apis/feeds/facebook
Configurer une boutique Facebook
Rendez-vous sur votre page Facebook d’entreprise et cliquez sur l’onglet Gérer la boutique du menu de gestion pour commencer la configuration de votre boutique.
Sélectionnez Paiement sur un autre site web.
Associez un compte professionnel ou créez-en un.
Donnez un nom à votre catalogue.
Demandez l’examen de votre boutique.
Créer un catalogue sur Facebook
Une fois ces étapes remplies, rendez-vous dans votre Gestionnaire des ventes Facebook.
Dans le menu, sélectionnez Catalogue, puis Articles.
Cliquez sur Ajouter des articles.
Cliquez sur Importer par lot, puis Fil programmé.
Dans le champ Entrez une URL, collez l’URL de votre flux RSS et laissez les champs des informations de connexion complètement vides.
Dans l’encart Programmer les mises à jour, vérifiez que les mises à jour sont programmées automatiquement, une fois par heure, toutes les heures.
Modifiez la devise par défaut pour l’euro.
Cliquez sur Importer pour voir vos produits apparaître dans le catalogue Facebook.
💡 Facebook récupérera automatiquement le catalogue de votre site toutes les heures, afin de mettre à jour les fiches produits disponibles, d'ajouter les nouvelles et de supprimer celles qui ont été désactivées.
Finaliser l’initialisation de la boutique
Cliquez sur l’onglet Boutiques de votre gestionnaire des ventes.
Sur la ligne correspondante à votre boutique, cliquez sur Modifier.
Créez une jolie boutique à l’image de votre marque, en mettant en avant vos produits, grâce à l’éditeur.
Pour en savoir plus sur les possibilités de personnalisation et de mises en avant, consultez la documentation Facebook.
Validez votre nom de domaine auprès de Facebook & Instagram
Facebook et Instagram demandent que vous soyez bien propriétaire du nom de domaine de votre boutique en ligne. Ils ne vous donneront pas l’autorisation d’utiliser leurs fonctionnalités Shopping s’ils n’arrivent pas à le vérifier. Pour prouver qu’il s’agit bien de votre site et de votre nom de domaine, suivez les étapes ci-dessous.
Dans votre gestionnaire de ventes Facebook, cliquez sur le carré à 9 points en haut à droite du menu, et sélectionnez Paramètres d’entreprise.
Une fois sur la page, dans le menu à gauche, cliquez sur Brand Safety, puis sur Domaines.
Cliquez sur Ajouter un nouveau domaine, et entrez votre nom de domaine, comme vivlab.com par exemple.
Dans les options proposées, sélectionnez "Mettez à jour l’enregistrement TXT DNS chez votre registraire de nom de domaine."
Dans un nouvel onglet, rendez-vous sur votre hébergeur de nom de domaine, dans les paramètres DNS :
Ajoutez un nom d’hôte en TXT.
Renseignez un @ dans le nom d’hôte.
Collez le code TXT record, qui commence par facebook-domain-verification, donné par Facebook.
Enregistrez.
Retournez sur la page de votre Gestionnaire Facebook :
Validez l’intégration sur la page Domaines et rafraîchissez.
La petite pastille de couleur à côté de votre nom de domaine est normalement devenue verte.
Mettre en place Instagram Shopping
Activer Instagram Shopping est une étape essentielle. Cette fonctionnalité permet aux utilisateurs de découvrir et d’acheter vos produits directement à partir de votre profil Instagram. Cependant, avant de pouvoir utiliser Instagram Shopping, vous devez mettre en place Facebook Shopping. Ce guide détaillé vous expliquera comment activer Instagram Shopping et quelles étapes sont nécessaires pour y parvenir.
Vérifier que votre compte Instagram est associé à votre page Facebook
Pour activer Instagram Shopping, il est impératif que votre compte Instagram soit associé à votre page Facebook. Si ce n’est pas déjà le cas, suivez ces étapes :
Accédez au gestionnaire de ventes Facebook depuis votre compte administrateur Facebook.
Vérifiez que votre compte Instagram et votre page Facebook sont correctement associés. Si ce n’est pas le cas, associez-les en suivant les instructions fournies.
Convertissez votre compte Instagram en compte professionnel
Avant de demander la validation d’Instagram Shopping, vous devez vous assurer que votre compte Instagram est un compte professionnel. Pour ce faire, suivez ces étapes :
Ouvrez l’application Instagram sur votre appareil mobile.
Accédez à votre profil en appuyant sur l’icône de votre profil en bas à droite de l’écran.
Appuyez sur les trois lignes horizontales dans le coin supérieur droit pour ouvrir le menu.
Cliquez sur “Paramètres”.
Faites défiler vers le bas et cliquez sur “Compte”.
Sous “Options du compte”, sélectionnez “Passer au compte professionnel”.
Suivez les étapes pour configurer votre compte professionnel, y compris la liaison à votre page Facebook.
Demandez la validation d’Instagram Shopping
Une fois que votre compte professionnel est prêt, vous pouvez demander la validation d’Instagram Shopping. Suivez ces étapes pour demander la validation :
Toujours sur votre application Instagram, accédez à vos paramètres de compte en suivant les étapes ci-dessus.
Cette fois, sous “Options du compte”, choisissez “Entreprise”.
Sélectionnez “Instagram Shopping” pour commencer le processus de validation.
Instagram examinera votre compte marchand et vous informera de sa décision. Ce processus peut prendre quelques heures ou même quelques jours.
Assurez-vous de suivre ces étapes avec soin pour profiter pleinement de cette fonctionnalité et booster votre présence sur les réseaux sociaux.
💡 Instagram devrait valider Instagram Shopping. Si vous recevez un nouveau refus, c’est que votre compte Instagram est trop récent ou n’est pas assez actif, en termes de publications ou d’abonnés. N’hésitez pas à contacter leur support pour en savoir plus.