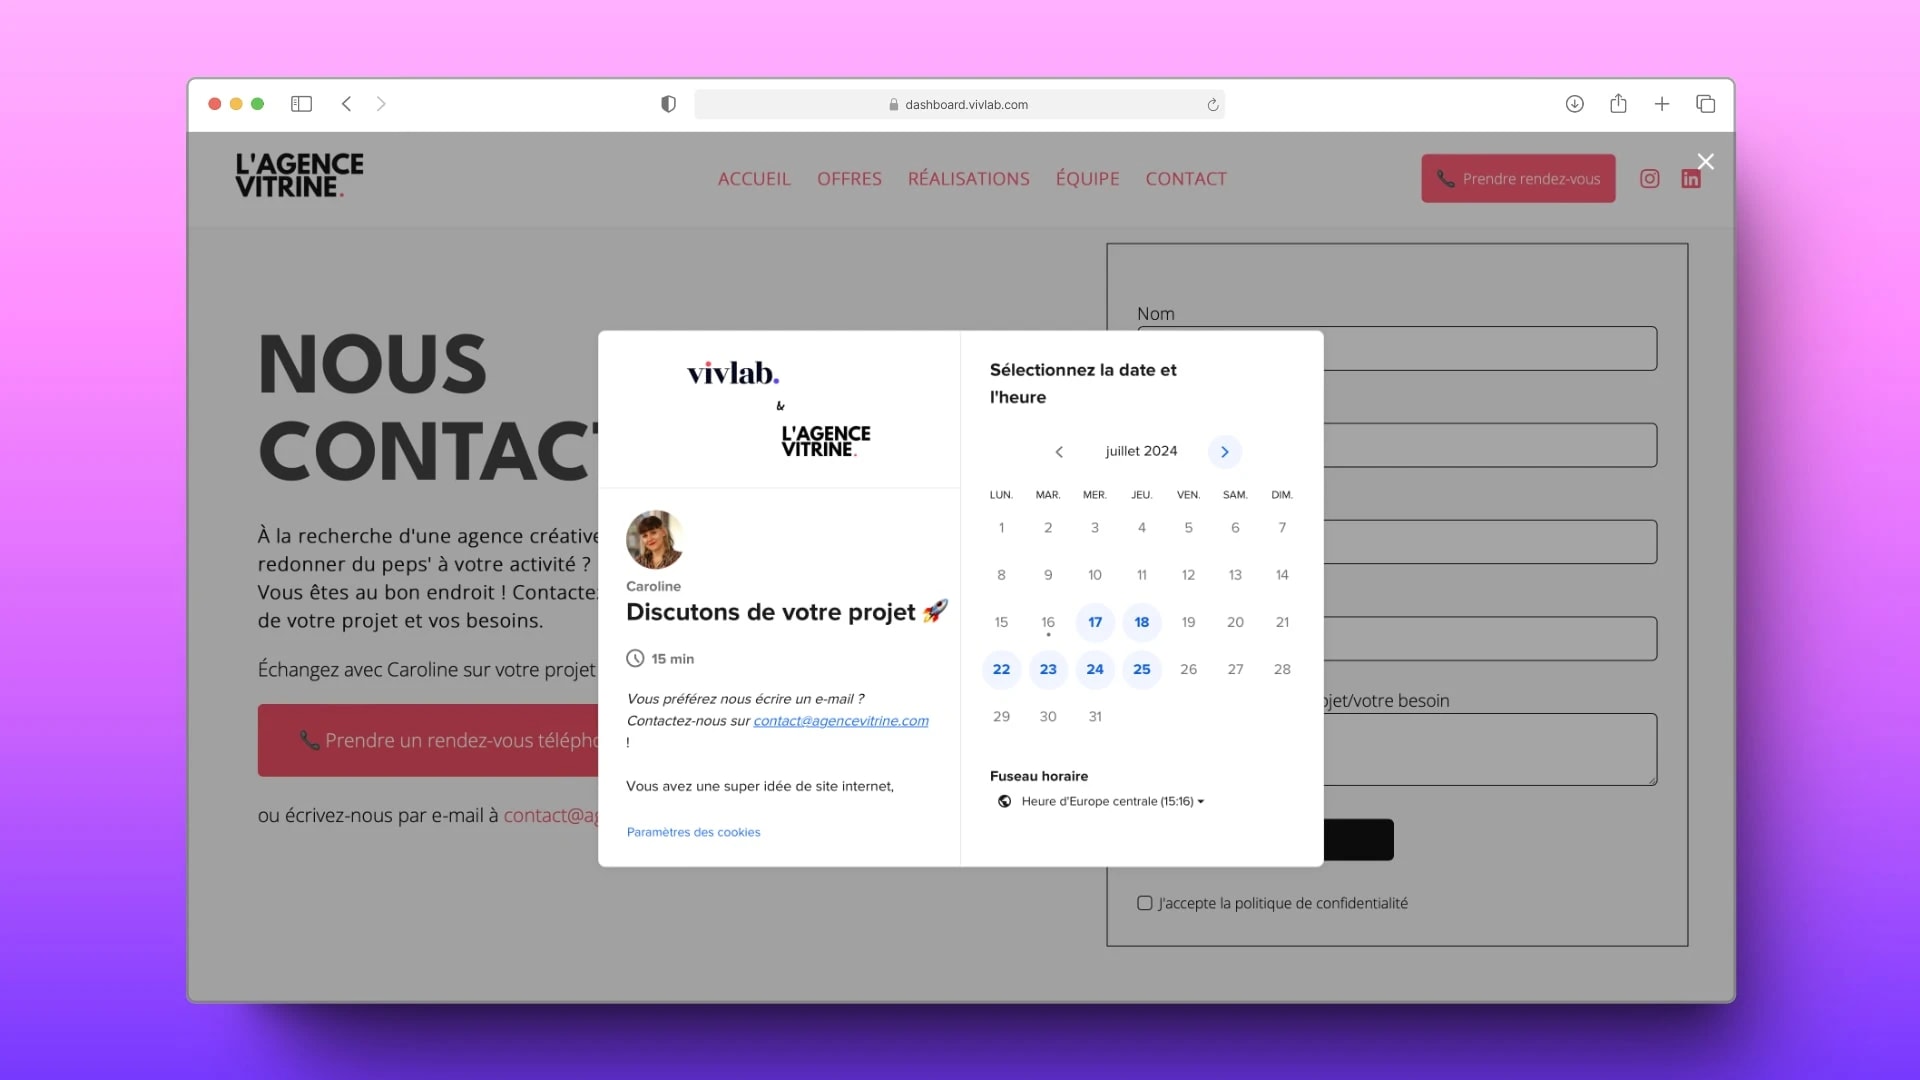
Ajouter un planning de prise de rendez-vous
Simplifiez la prise de contact pour vos clients en ajoutant un planning de prise de rendez-vous sur votre site.

En offrant la possibilité de planifier des rendez-vous directement sur votre site, vous renforcez la relation avec vos clients en répondant à leurs besoins de manière proactive.
💡 Pour ajouter un planning de prise de rendez-vous sur votre site, vous devez auparavant le créer sur une solution dédiée, comme Calendly ou Google Agenda.

Ajouter un planning de prise de rendez-vous via l’URL
Suivez ces étapes pour ajouter un planning de prise de rendez-vous via le lien d'un planning :
Rendez-vous dans l’onglet Site internet > Liste des Pages Web
Sélectionnez la page dans laquelle vous souhaitez faire apparaître le planning de prise de rendez-vous.
Ajoutez un élément.
Dans la liste des éléments, sélectionnez Bouton.
Dans le champ Action lors du clic, sélectionnez Lien externe.
Insérez l’URL de votre planning dans le champ Lien de la page.
Personnalisez le texte du bouton ainsi que les couleurs du texte et de l'arrière-plan selon vos préférences.
💡 Lorsque vos utilisateurs cliqueront sur le bouton, le planning s'affichera dans une fenêtre sur le site.
Ajouter un planning de prise de rendez-vous via l’iframe
Suivez ces étapes pour ajouter un planning de prise de rendez-vous via l’iframe :
Rendez-vous dans l’onglet Site internet > Liste des Pages Web
Sélectionnez la page dans laquelle vous souhaitez faire apparaître le planning de prise de rendez-vous.
Ajoutez un élément.
Dans la liste des éléments, sélectionnez Intégration.
Dans le champ Code iframe, collez le code fourni par votre logiciel de prise de rendez-vous.
