Customize the navigation bar of my site
The navigation bar of your site created on Vivlab can be customized in just a few clicks and according to your needs.
The navigation bar is a key element of your website. As its name suggests, it allows your visitors to navigate through your site and move from page to page. It can also highlight the key call-to-action buttons for your business (social media, shopping cart, appointment button, etc.).
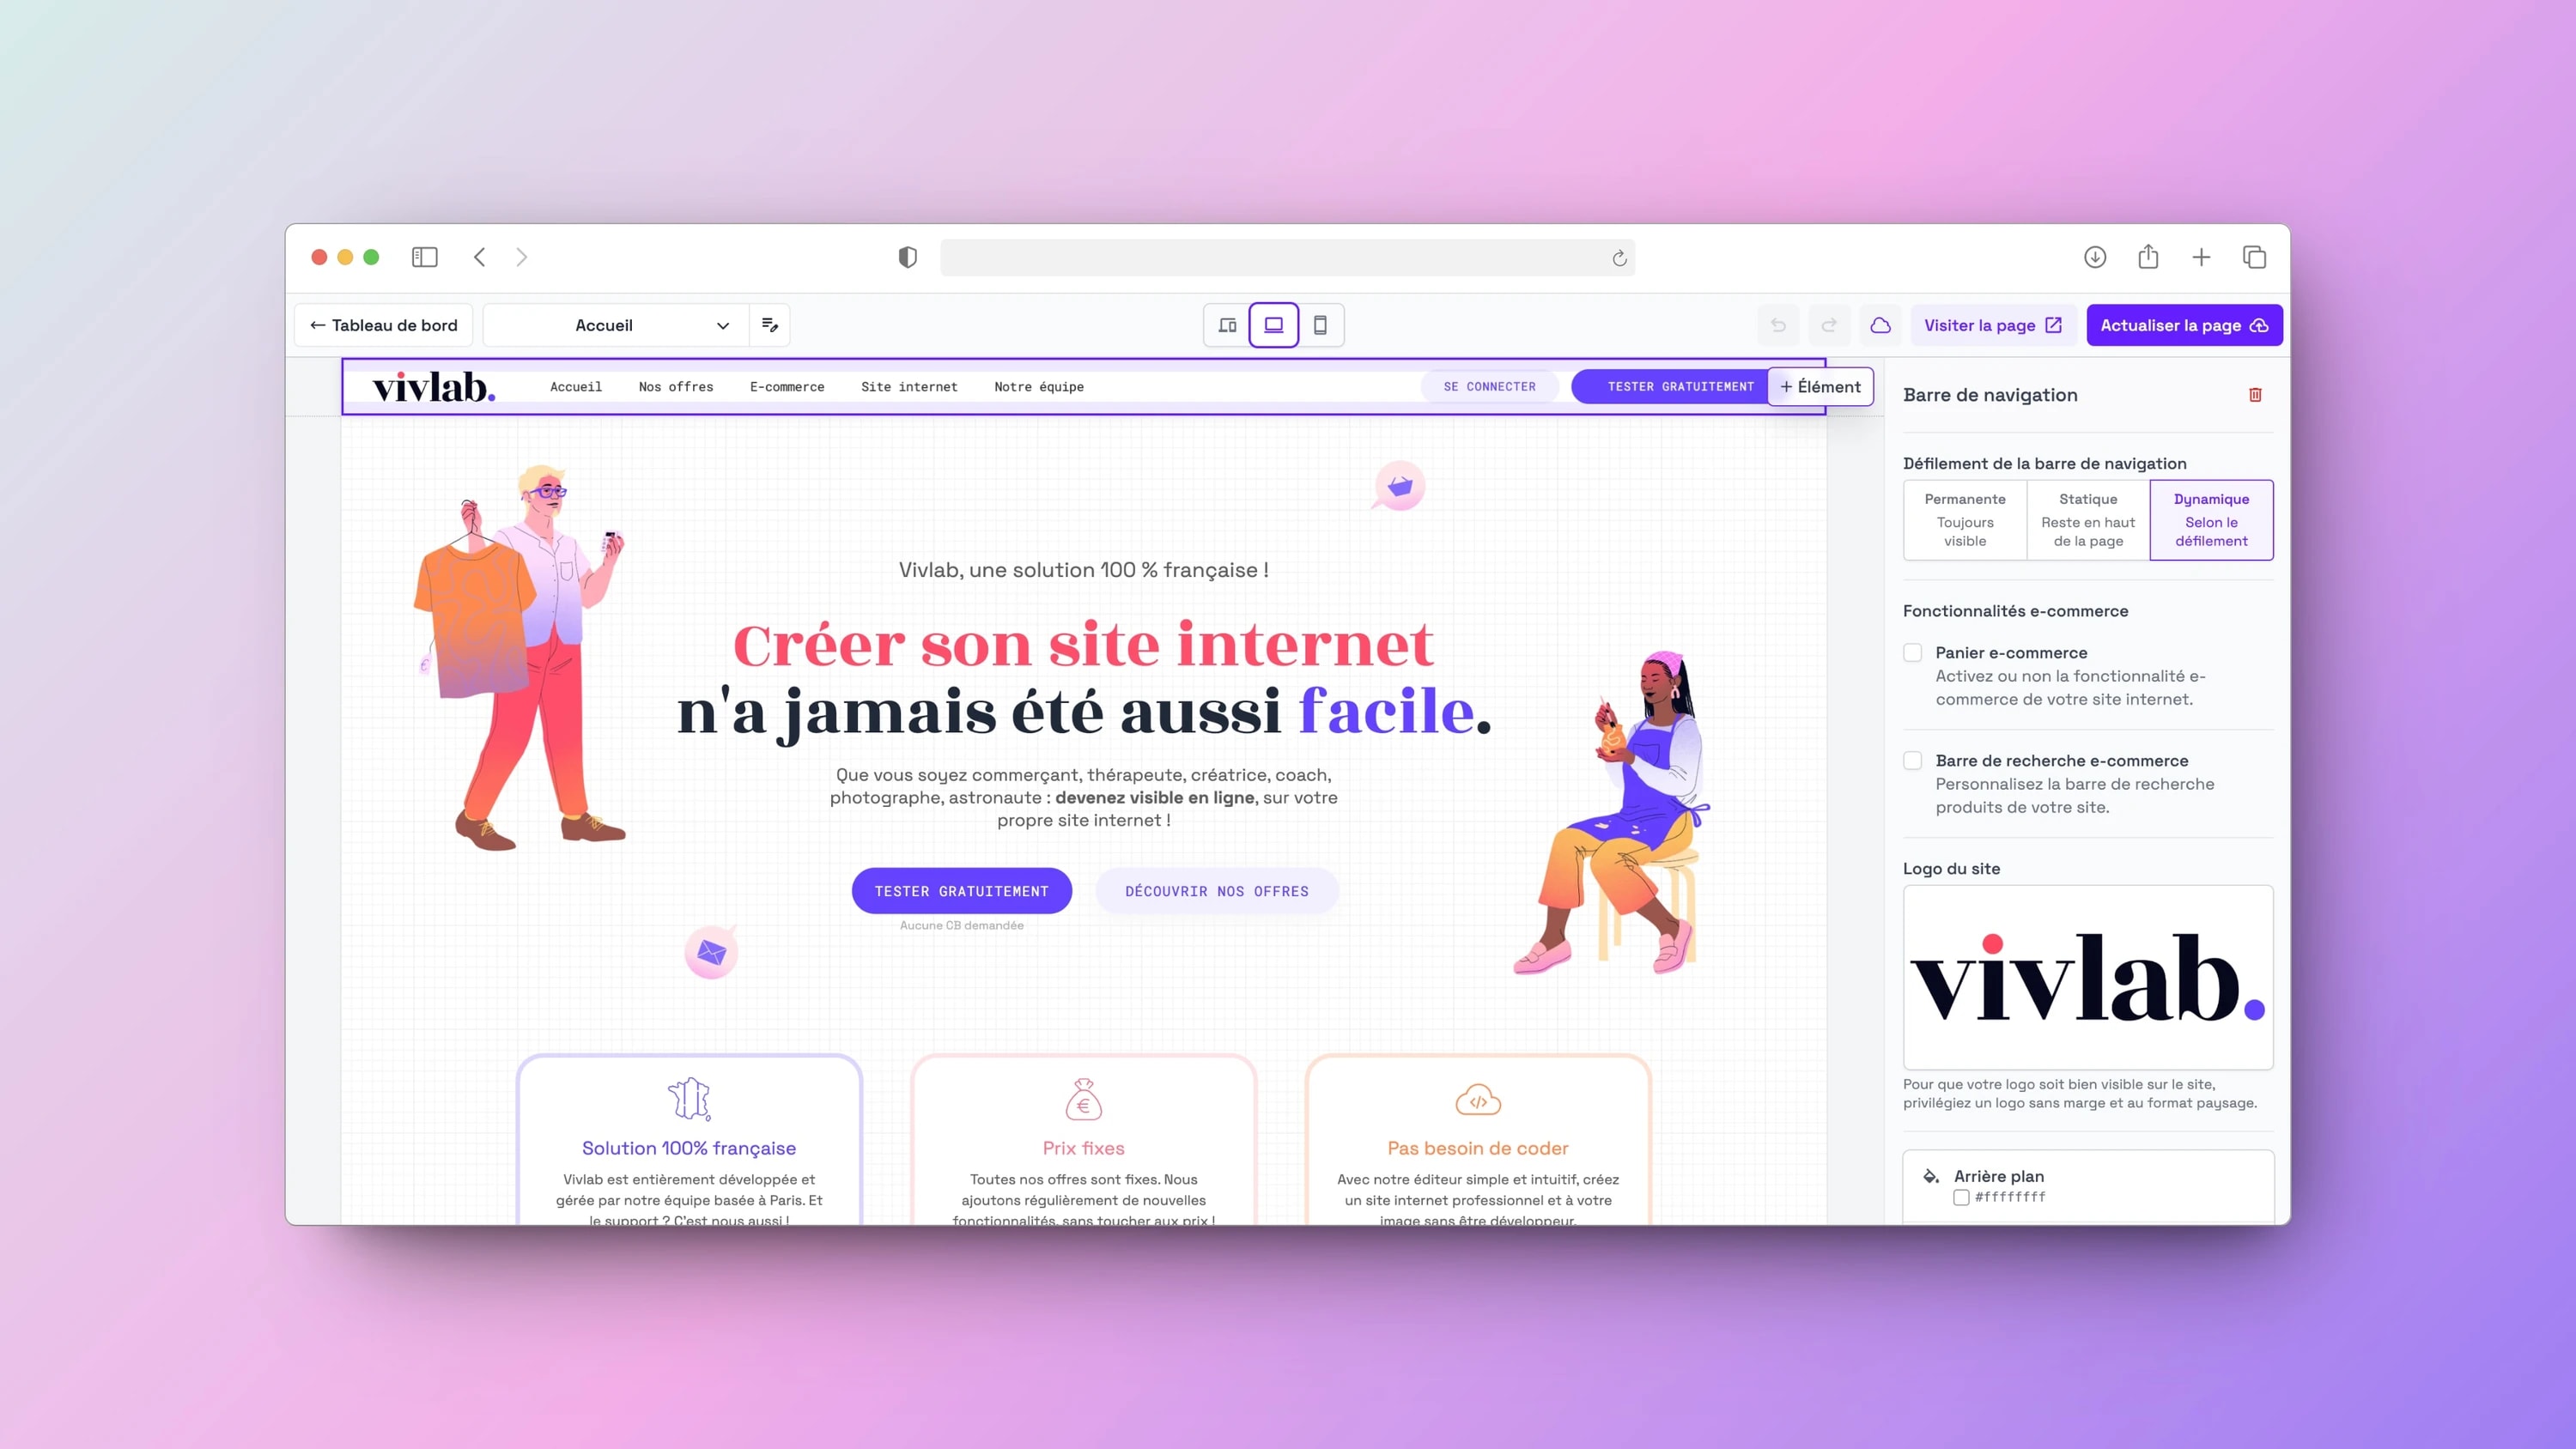
The navigation bar of your site created on Vivlab is fully customizable according to your desires, needs, and activity. It appears at the top of all pages, without exception.
Create the navigation bar
💡 If you have not yet created a page, it is necessary to create one in order to access the customization of your navigation bar.
To access the navigation bar editor:
Click on the Web Pages tab in your menu.
Select one of your existing pages.
Click on the navigation bar at the top of the page to edit it.
Navigation bar templates are available to help you, but you can also start with a blank section.
Edit the navigation bar
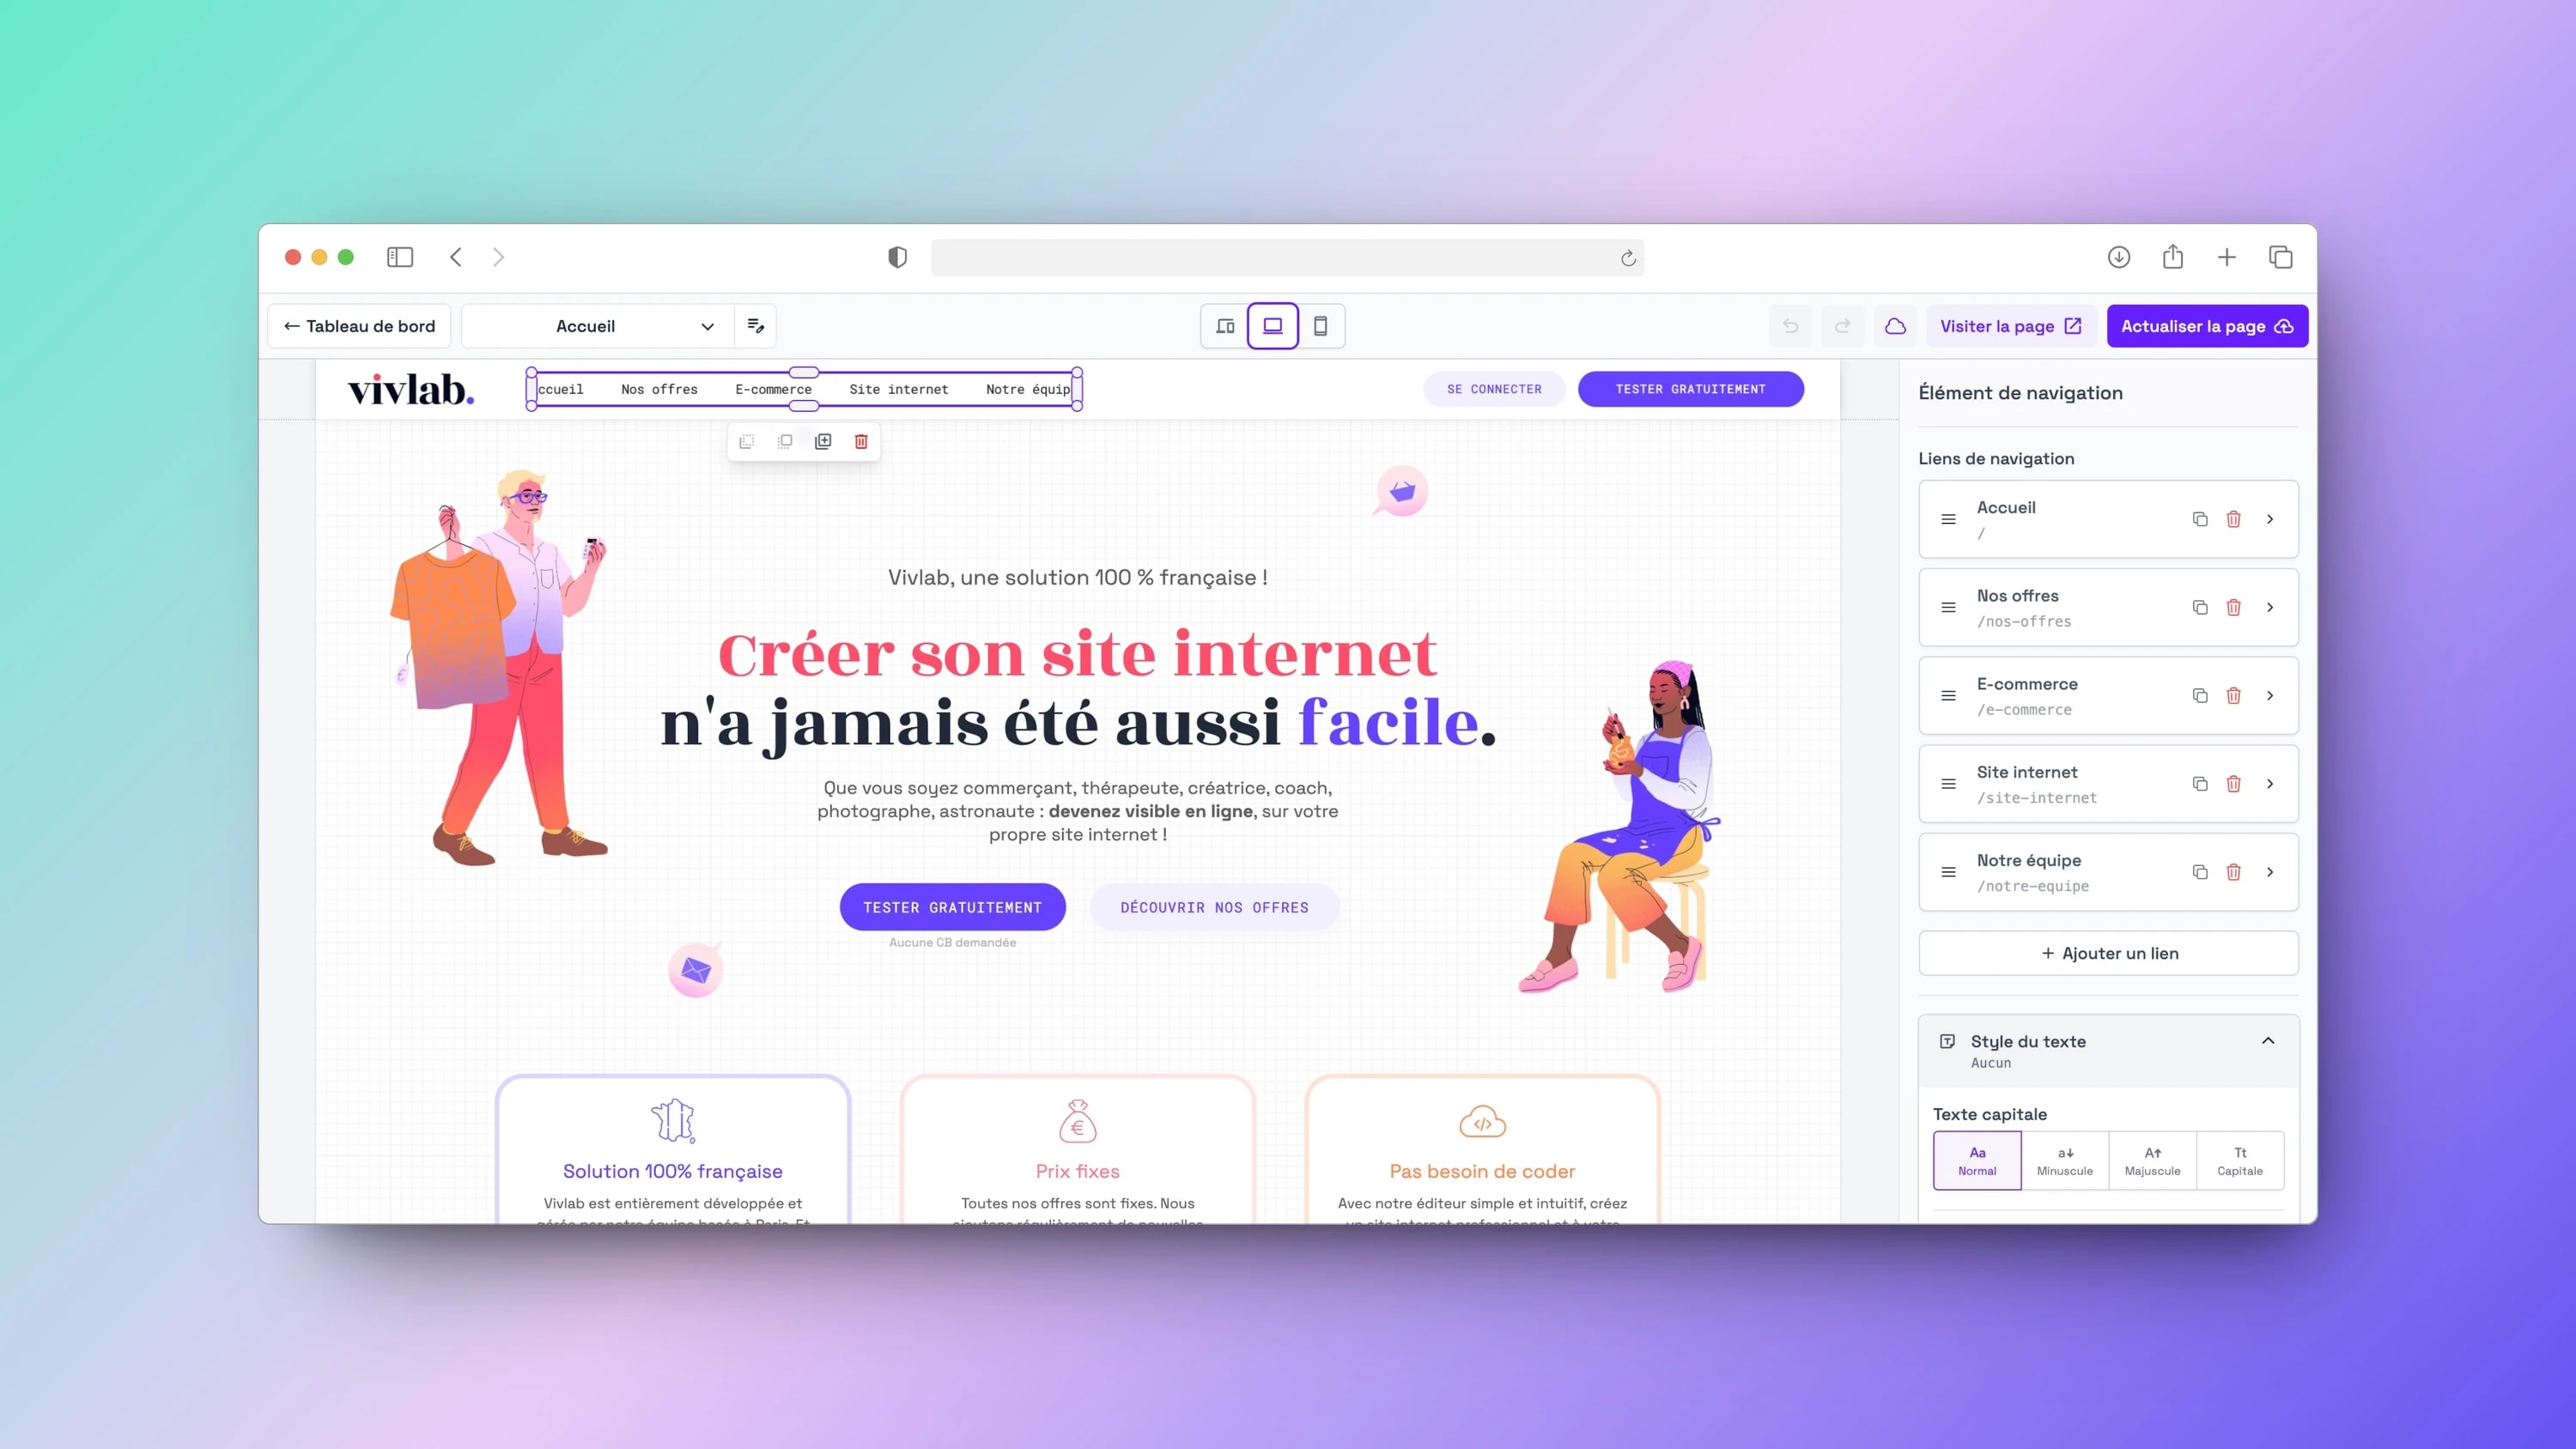
Editing the navigation bar is very similar to editing the sections of your site:
Click on the + Elements button.
Select the element of your choice from the list.
Place this element where you want it in the bar.
Using generic elements (for showcase and e-commerce sites)
Regardless of the type of site you are creating, you have the ability to add different elements to your navigation bar:
An announcement bar: the announcement bar displays a personalized message at the top of your site, appearing on all pages.
Mobile Menu: the mobile menu is only visible on the mobile version of your site, making navigation easier for your mobile users.
Text: you have the option to add a text field to the navigation bar.
Dropdown menu: you can add a dropdown menu and add an action when clicking each link.
Button: adding buttons encourages visitor action and also guides them to key pages.
Shape: it is possible to add shapes; you can then change the fill type and background color. You also have the option to add images within these shapes.
Site logo: it is important to add the logo in the navigation bar as it reinforces the visual identity of your website and your brand image.
Navigation menu: adding a navigation menu in the navigation bar is important to enhance user experience by facilitating access to different pages.
Social media: your brand's social media allows you to build a connection with your customers and offer a privileged space for exchange.
Language menu: this button allows your visitors to switch from one language to another if you have enabled translation on your site.
Add the cart (e-commerce sites only)
⚠️ If you sell products on your site, it is essential to add the shopping cart to allow your customers to pay for their order.
Follow these steps to make the cart icon appear in the navigation bar:
Go to the Website > Web Pages List tab.
Select one of your existing pages.
Edit your navigation bar.
Add an element.
In the elements list, select e-commerce Cart.
Add the search bar (e-commerce sites only)
You can choose whether or not to display a product search bar within your header.
Follow these steps to make the search icon appear in the navigation bar:
Go to the Website > Web Pages List tab.
Select one of your existing pages.
Edit your navigation bar.
Add an element.
In the elements list, select e-commerce Search Bar.
💡 The search bar is only intended to facilitate the search for products on your site and not for searching for third-party information.